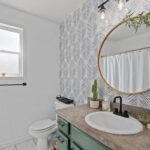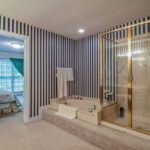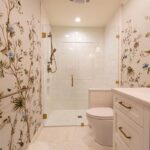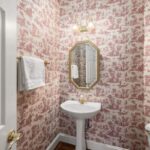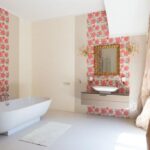
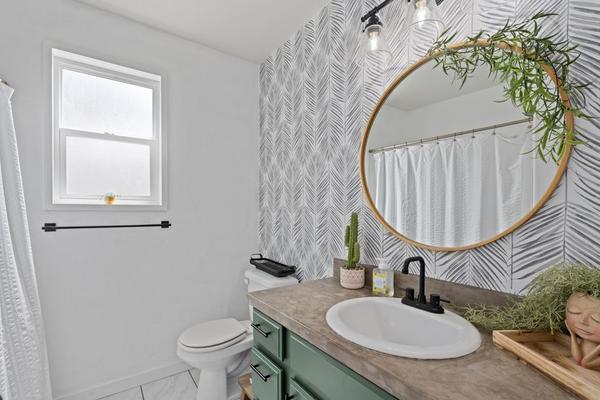
A bathroom wall can look perfectly ready for wallpaper until steamy showers expose the weak spots. Edges lift, seams open, or uneven paint begins to show through. Most of these problems start before the wallpaper goes up. Learning how to prepare bathroom walls for wallpaper means dealing with moisture, contamination and surface texture in the right order, rather than relying on extra paste later.
The goal is a clean, dry, firm and evenly absorbent surface. Here is a practical approach for painted walls, repaired plaster and other suitable surfaces, provided the wallpaper manufacturer approves the installation.
First, decide which bathroom walls should be papered
Preparation cannot turn ordinary wallpaper into a waterproof finish. Avoid shower enclosures, walls routinely soaked by bath splashes and surfaces exposed to direct water. Tile, glass or a suitable waterproof panel is safer there. A wall behind the toilet or away from the shower is often a better candidate.
Consider ventilation as well. An extractor fan that removes humid air, or a usable window, helps the wall dry after bathing. If condensation remains on walls for hours, improve ventilation before decorating. For material selection, compare bathroom wallpaper options and follow the product’s moisture limitations.
Check for damp before cleaning or filling
Look around pipework, the ceiling, window reveals, skirting boards and repaired patches. Bubbling paint, persistent discolouration, soft plaster, a musty smell or recurring mould may indicate water getting into the wall. Find and correct leaks or condensation problems before covering anything.
Do not sand over mould or seal a damp patch beneath wallpaper. Address the moisture source, remediate affected material appropriately, and allow the substrate to dry thoroughly. Widespread or recurring mould, or damaged wallboard, may need professional assessment and replacement. A moisture-resistant primer is not a substitute for repairing a leak.
Remove unstable paint, old wallpaper and adhesive
New wallpaper is only as secure as the layer beneath it. Peel away loose paper, scrape off flaking paint and remove remaining wallpaper adhesive using a method suitable for the wall. Residual paste can leave shiny patches, raised lines or uneven absorption that interfere with the bond.
On a painted surface, check whether the paint is firmly attached. Lightly sand glossy or semi-gloss finishes to reduce their sheen, then use a compatible adhesion-promoting wallcovering primer. Do not aggressively sand unknown older coatings; if lead-based paint is possible, use lead-safe procedures or a qualified contractor.
Papering over sound-looking old wallpaper creates another adhesive bond that might fail in humidity. Removing it and preparing the actual wall is generally more dependable.
Wash away soap film, grease and sanding dust
Bathroom wall prep includes contaminants you cannot always see. Hairspray, cleaning-product residue, soap film and hand oils can affect adhesion, especially around mirrors and basins. Wash with a mild cleaner suited to the finish, avoiding products that leave a waxy or oily coating. Rinse with clean water where required.
Let the wall dry. After sanding, remove fine dust with a vacuum attachment or clean, slightly damp cloth, then allow any moisture to evaporate. Primer applied over powdery filler or damp residue may bond to the dust rather than the wall.
Repair damage and create an even surface
Wallpaper can disguise some colour differences, but it rarely hides ridges, cracks, nail holes or peeling edges. Fill small defects with suitable wall filler and let it harden as directed. Sand repairs flush with the surrounding surface, using a work light held at an angle to reveal bumps and shallow dips.
For example, the wall beside a bathroom mirror may have several fixing holes from an old cabinet. Patch each hole, feather the edges and inspect under sideways lighting before priming. Otherwise, repaired spots can appear as visible circles beneath smooth paper.
If the whole wall has pronounced texture, a skim coat by a competent finisher may be better than repeated spot filling. The aim is to smooth walls for wallpaper without leaving loose dust or creating another damp layer that is rushed into service.
Choose the right primer for the wall and wallpaper
A wallpaper-specific primer or primer-sealer helps regulate absorption and provides a suitable surface for adhesive. Bare plaster, patched areas and porous drywall can draw moisture unevenly from paste, while glossy paint may resist bonding. Priming helps reduce both problems when matched to the substrate.
When choosing a wallpaper primer for a bathroom, check the manufacturer’s instructions for the wall type, adhesive and covering. Some products offer moisture-resistant or mould-inhibiting properties, but they do not waterproof the wall. A standard paint primer, a stain blocker and a wallcovering primer are not automatically interchangeable.
Apply a consistent coat as directed, including repaired sections and corners. Follow the stated drying or curing period rather than assuming the surface is ready as soon as it feels dry. For peel-and-stick wallpaper, verify the maker’s paint and primer compatibility requirements: some adhesives need a specific finish or longer paint-curing interval.
Check the surface before the first strip goes up
Give the room time to dry under normal ventilation, without steaming it up immediately before installation. Run a clean hand over the wall: it should not feel dusty, chalky, sticky or damp. Look across the surface under angled light and correct raised patches. Confirm that the primer is fully cured.
Check wallpaper and adhesive directions together, particularly where the paper is vinyl-coated or less breathable. A dry substrate matters because moisture trapped behind a relatively impermeable finish can become a long-term problem. Once the wall passes these checks, move on to measuring, marking a plumb line and hanging the paper.
Frequently asked questions
Can you wallpaper directly over bathroom paint?
Sometimes, if the paint is sound, clean, dry and compatible with the wallpaper system. Glossy surfaces usually need deglossing and a suitable adhesion primer. Peeling, chalky or damaged paint must be corrected first.
Do you need a special primer for bathroom wallpaper?
Use a wallcovering primer recommended for your substrate and wallpaper. A moisture-resistant primer may offer additional protection where specified, but ventilation and a dry, undamaged wall remain essential.
How long should bathroom walls dry before wallpapering?
There is no universal number of hours. Cleaning, filler, plaster and primer each have different drying or curing requirements. Follow product instructions and do not install wallpaper over an active damp problem.
Can wallpaper cover mould stains?
Covering stains does not fix mould or the moisture causing it. Resolve the source, assess and remediate affected material safely, and make sure the wall is completely dry before considering wallpaper.
Prepare once, then decorate with confidence
The most reliable bathroom wallpaper installation begins with a wall that can stay dry, not just one that looks smooth. Repair moisture problems, strip unstable coatings, wash away residue, fill and sand defects, then prime with a compatible product. Patience at each stage makes a tidy finish more likely to last.